DIY: Scalloped, Two-Tone Open Shelves for Your Most Colourful Stuff
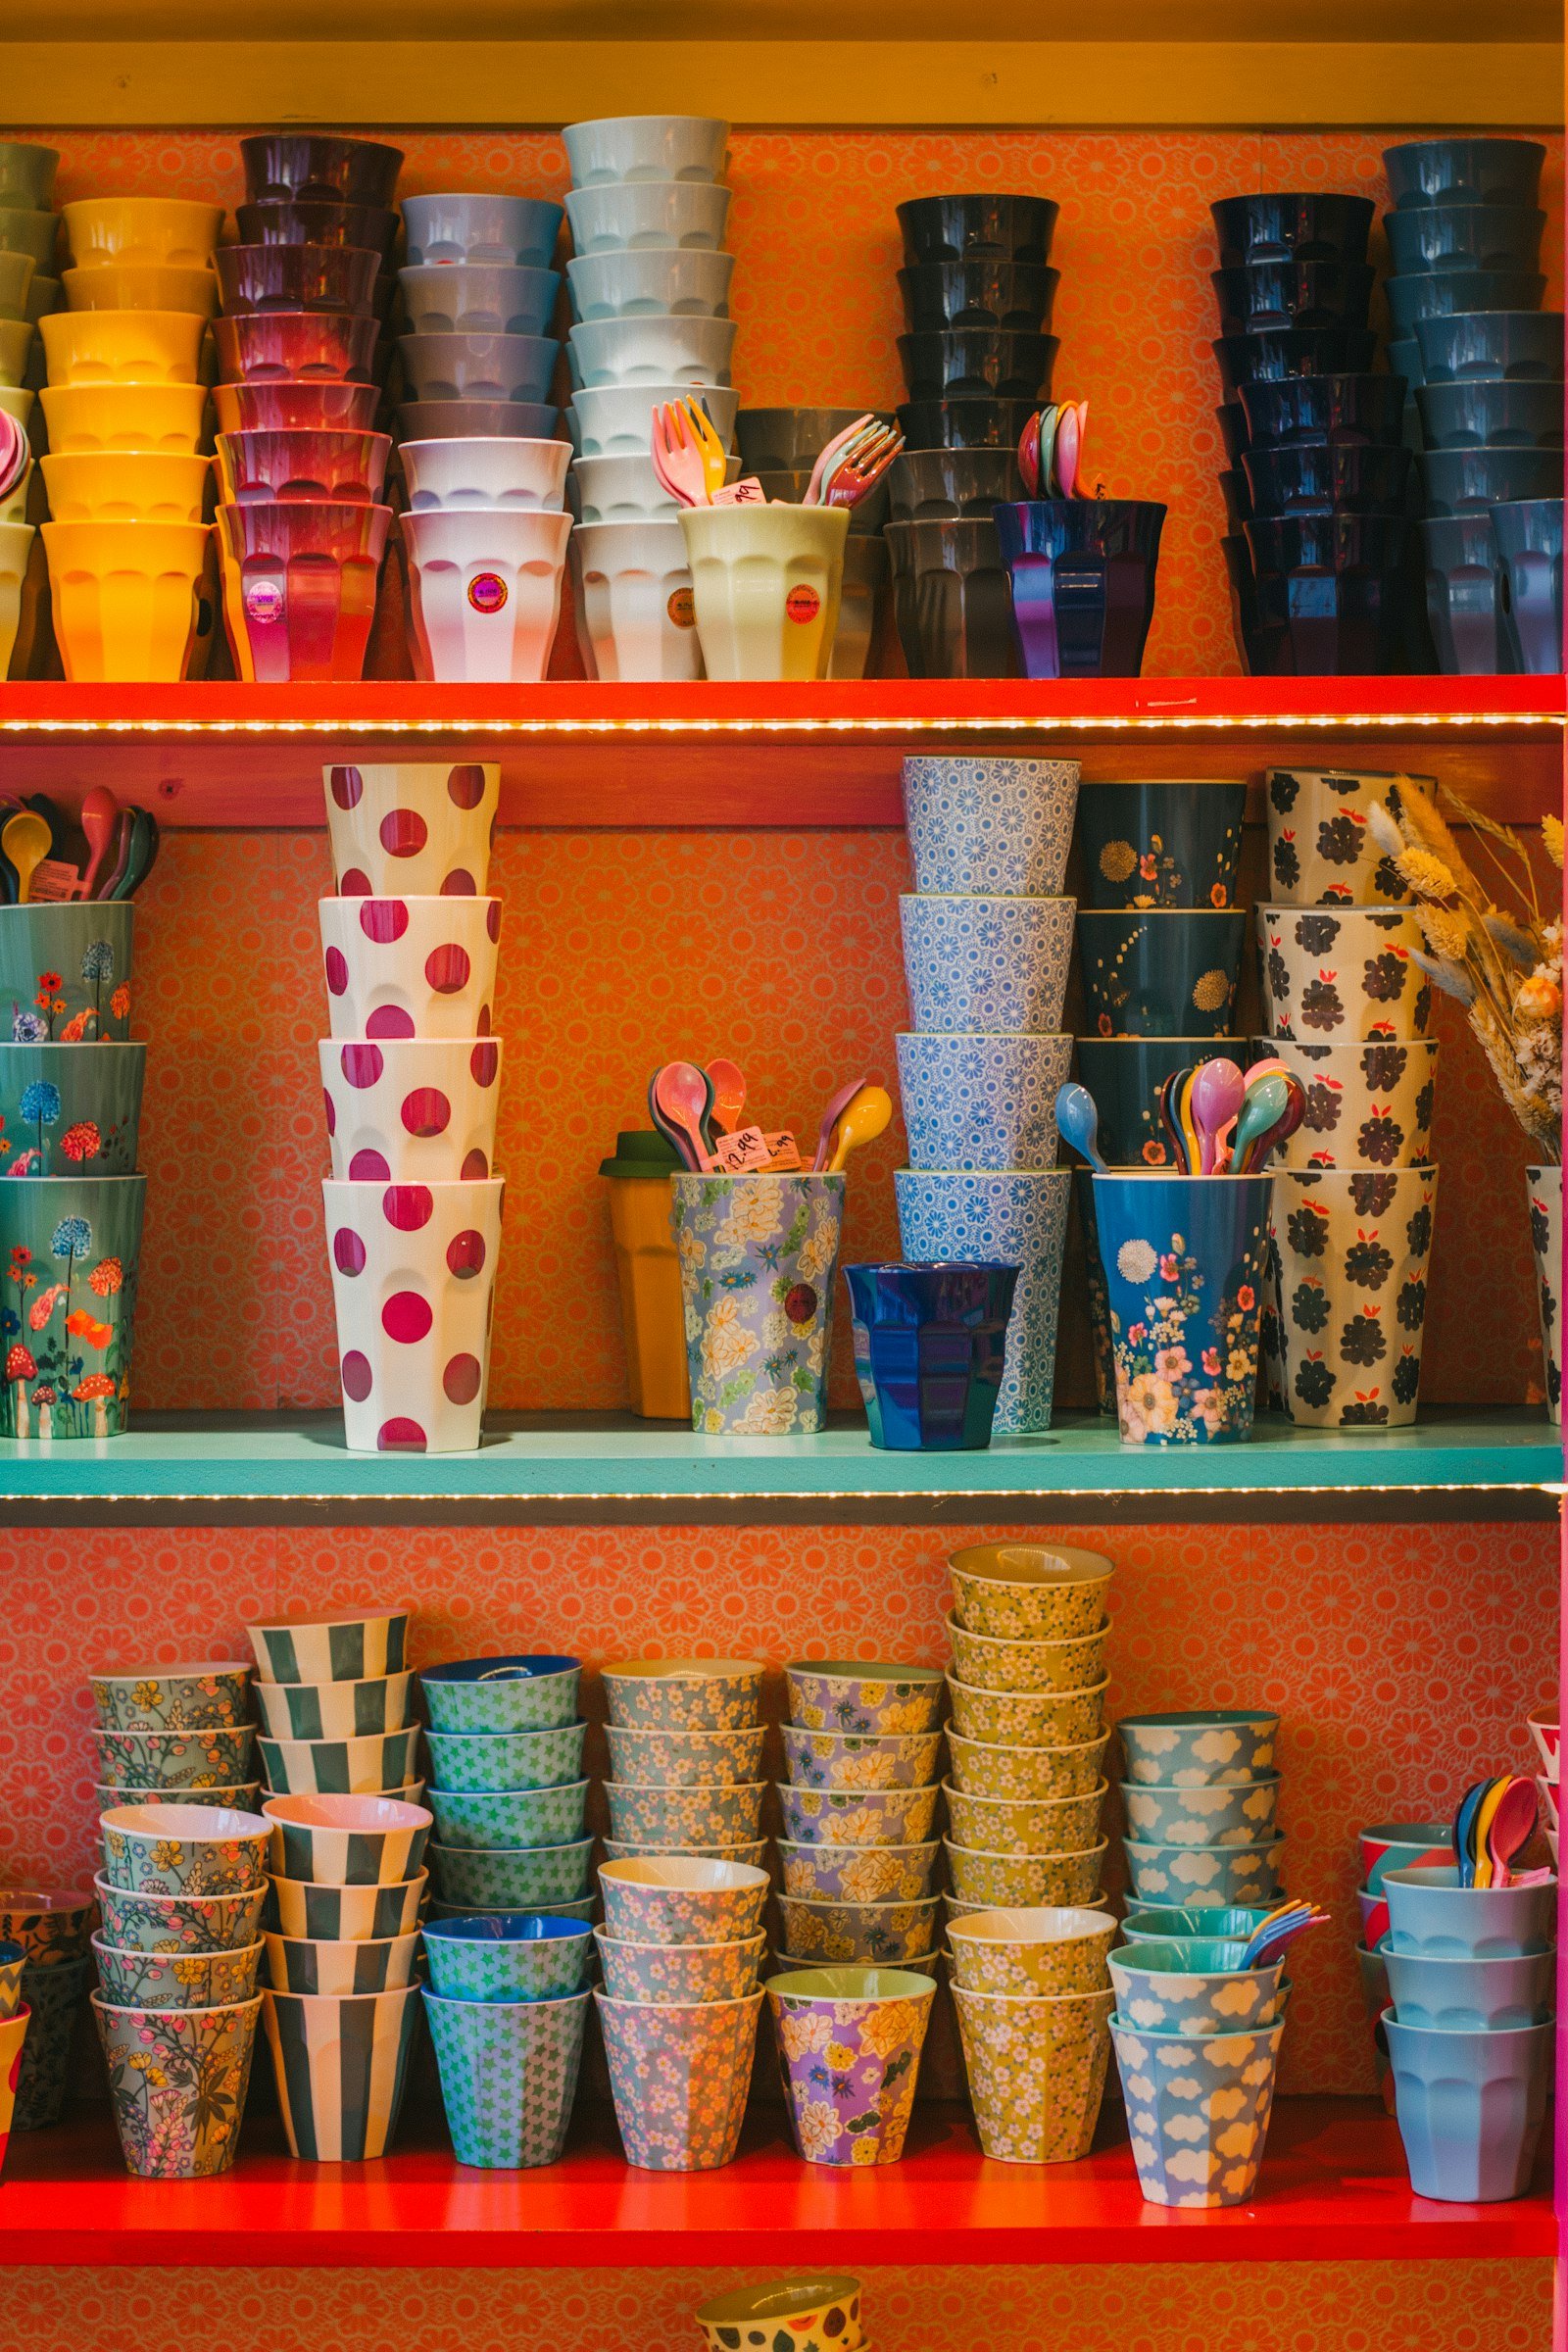
Plain white shelves are a crime against colourful cups. Here’s how I added a wiggly scalloped edge and painted mine tomato red and teal in a weekend.
I collect cups. Spotty ones, floral ones, stripy ones, melamine ones from the 70s. For years they lived behind cupboard doors like a shameful secret. No more. I built a wall of open shelves, gave them a scalloped trim, painted them in two clashing colours and now my cups are the main event. This works in a kitchen, a bathroom or anywhere you’ve got pretty things worth showing off.
You’ll need
- Plain wooden shelves and brackets (or your existing shelves)
- 6 mm MDF or plywood strips, as long as each shelf and about 6 cm deep
- A round lid or jar, roughly 8 cm across, to use as a template
- Pencil, ruler and masking tape
- Jigsaw with a fine scroll blade (or a coping saw and patience)
- Sandpaper (120 and 180 grit)
- Wood glue and 20 mm panel pins
- Primer, plus two colours of satin or eggshell paint (I used tomato red and teal)
- Small foam roller and an angled brush
Step 1: Plan your scallops
Measure each shelf front. Divide by the width of your lid to see how many scallops fit, then tweak so you get whole ones with a tiny flat bit at each end. Lay the strip down, mark the centre, and work outwards from there so the pattern is symmetrical. Draw a straight line 2 cm from the top edge; that’s where the tops of your curves will meet.
Step 2: Draw and cut the curves
Place the lid on the line and trace the bottom half of the circle, then shift along and repeat. Clamp the strip to a table with the cut line hanging over the edge and go slowly with the jigsaw. Don’t try to cut each curve in one sweep; nibble in from both sides. Wonky is charming, but jagged isn’t, so take your time.
Step 3: Sand and prime
Sand the curves with 120 grit wrapped around a pencil or dowel to get into each dip, then go over everything with 180. Wipe off the dust and give the trims and shelves a coat of primer. MDF edges drink paint, so give the cut edges a second coat of primer once the first is dry.
Step 4: Paint in clashing colours
Paint the shelves one colour and the scalloped trims the other. I did red shelves with teal trims on top and bottom rows, then flipped it on the middle shelf so it reads like a pattern. Two thin coats with the foam roller, brush only for the curves. Let each coat dry properly or the satin finish will go tacky.
Step 5: Attach and style
Run a line of wood glue along the shelf front, press the trim on so it hangs down like a little pelmet, and tap in panel pins every 15 cm. Fill the pin holes, dab on a touch of paint, then hang the shelves. Style by colour in loose stripes, stack cups tall, and mix patterns on purpose: spots next to florals next to stripes.
Make it yours
- Use a bigger lid for bold, bubbly scallops or a small one for a lacy look.
- Try zigzags or a wavy squiggle instead of scallops.
- Wallpaper or paint the wall behind the shelves for maximum pattern clash.
- Add a strip of LED tape under each shelf so everything glows at night. ✨