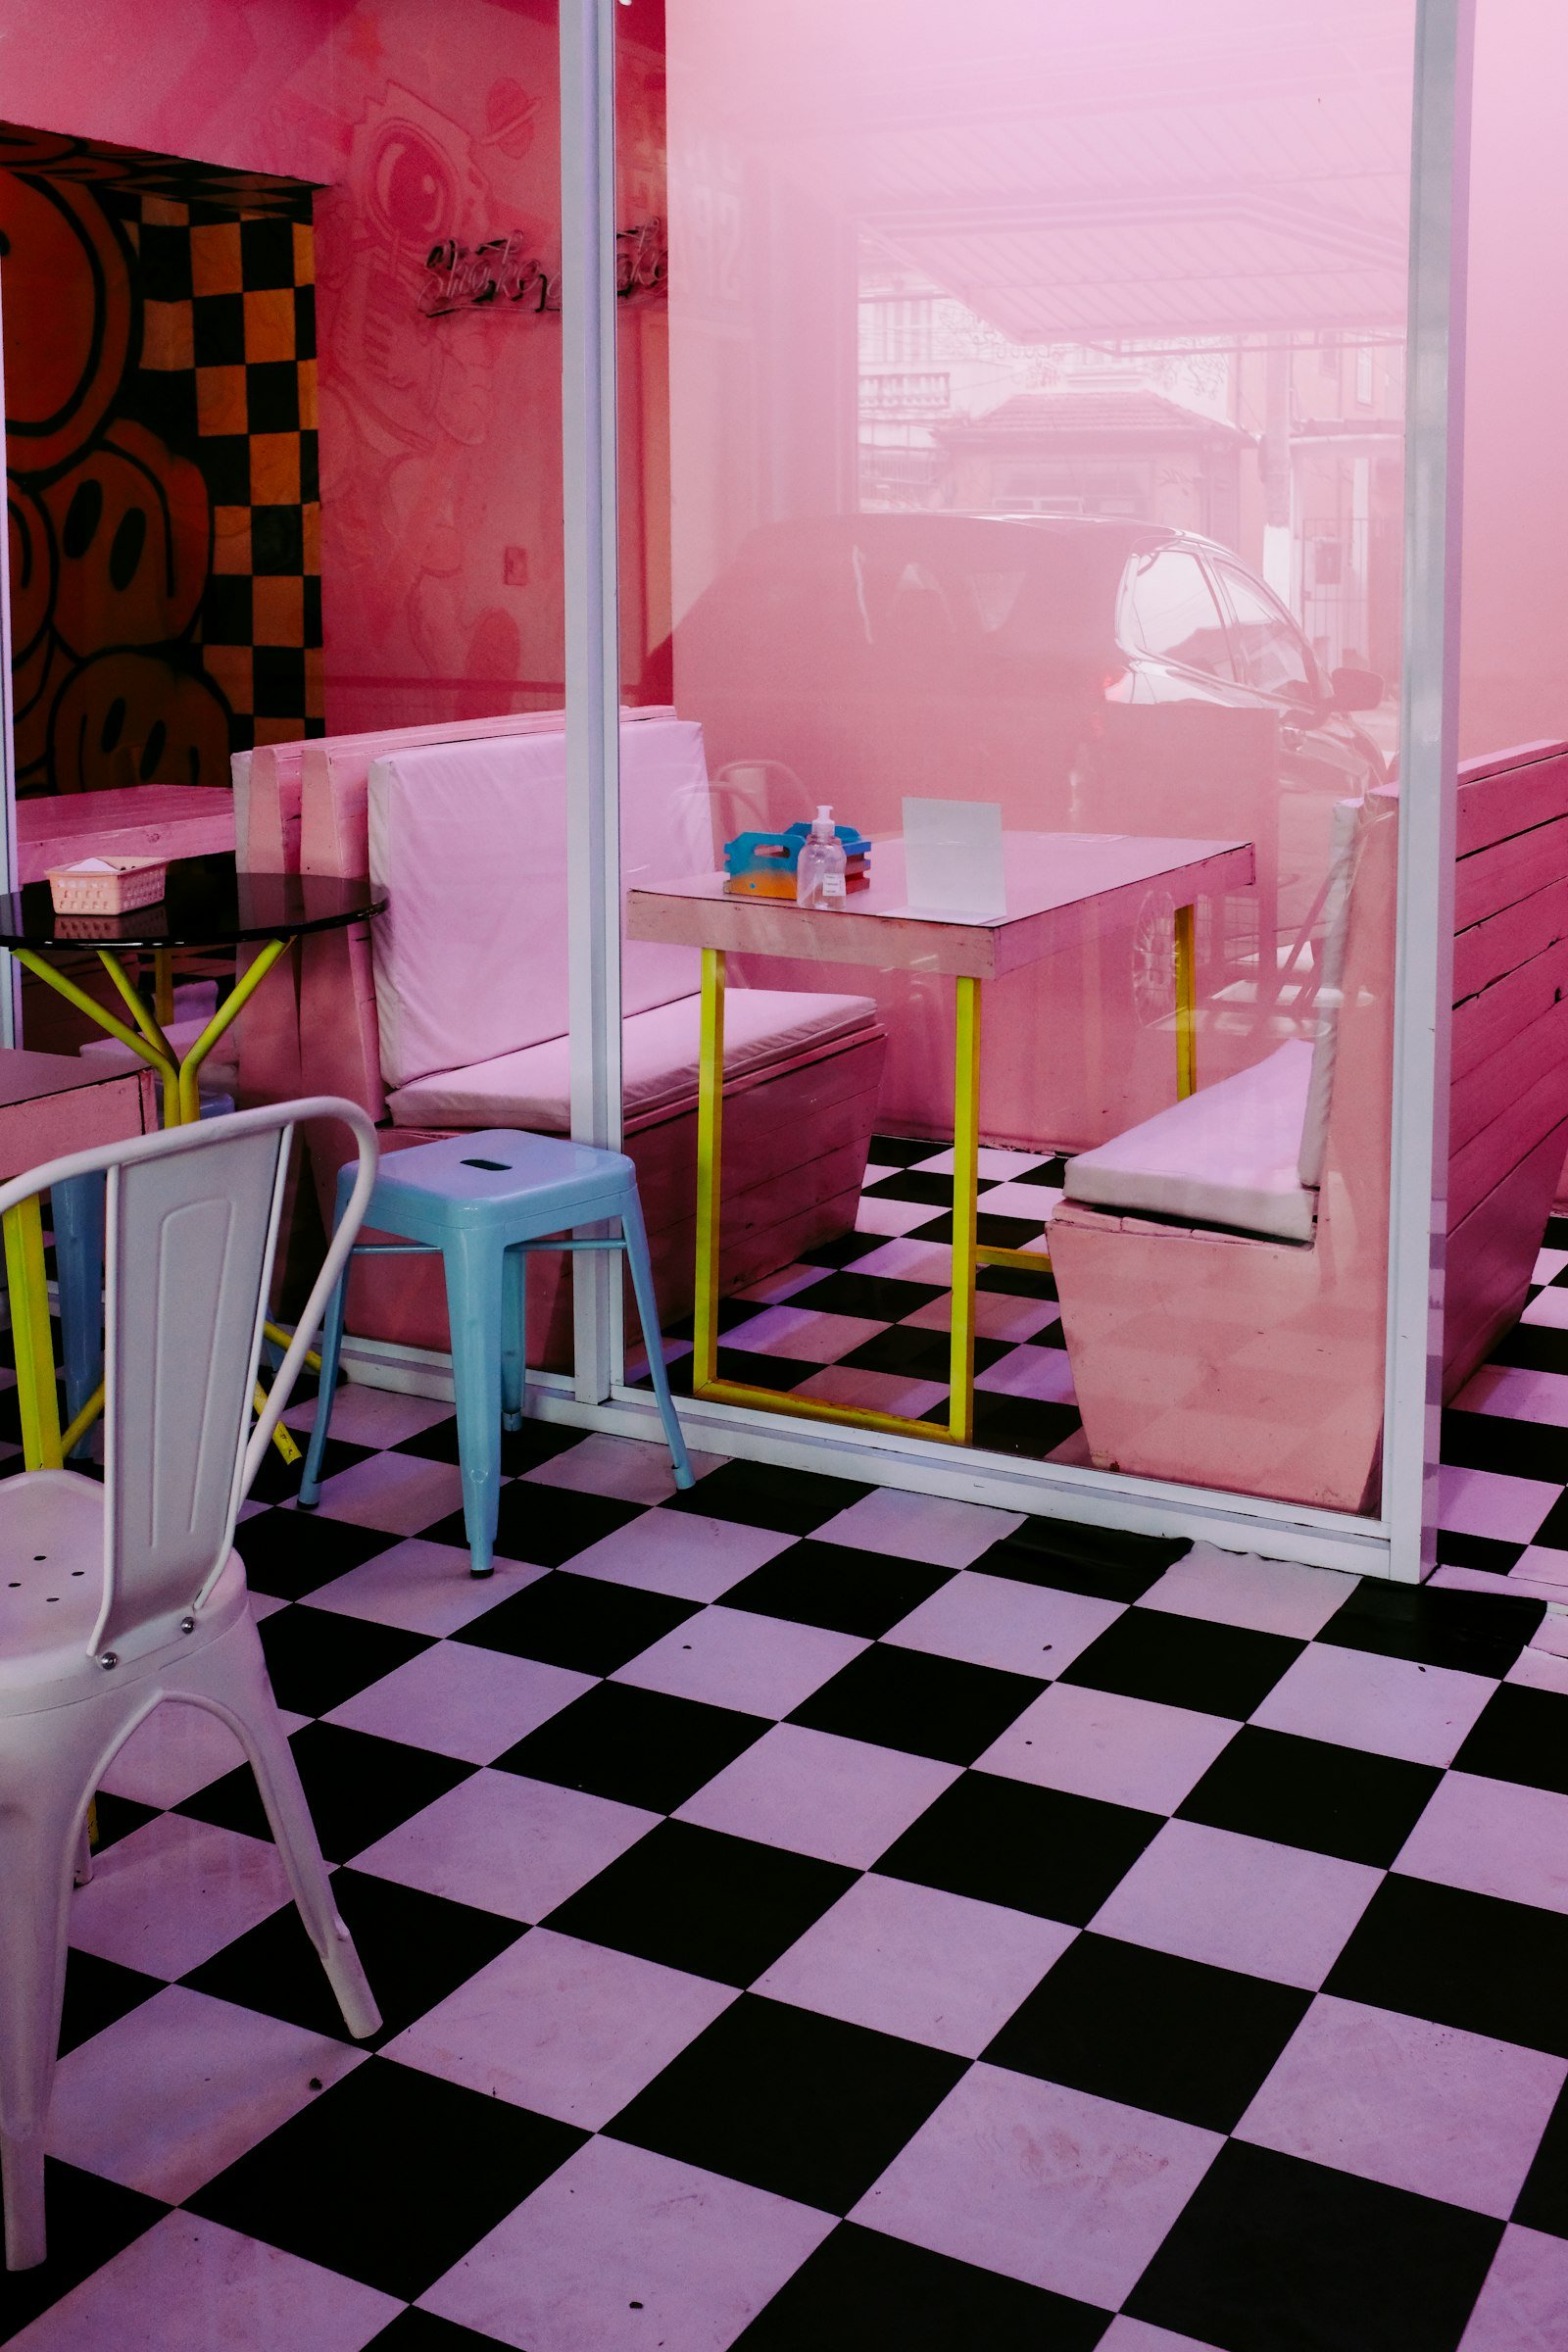
Ugly floor, no budget? Paint it. Here’s exactly how I turned a tired bathroom floor into a pink and black checkerboard in one long weekend.
My bathroom floor was beige tiles with brown grout. Replacing them wasn’t in the budget, and I couldn’t look at them for one more day. So I painted them into a pink and black checkerboard, and it’s the best thing I’ve done in this house. This method works on tiles, floorboards or concrete, as long as you prep properly.
You’ll need
- Floor paint in two colours (I used a bubblegum pink and soft black)
- A bonding primer suitable for your floor surface
- Clear water-based floor varnish, matt or satin
- Sugar soap, a scourer and fine sandpaper
- Tape measure, long ruler or spirit level, and a pencil
- Low-tack masking tape, 25 mm wide
- Small foam rollers, a tray and an angled brush
- Kneepads. Trust me.
Step 1: Clean and prime
Scrub the floor with sugar soap, rinse and let it dry completely. Give it a light sand to key the surface, hoover up every speck of dust, then roll on the bonding primer. On tiles, push primer into the grout lines too. Let it cure for as long as the tin says, not a minute less.
Step 2: Paint the base colour
Roll the whole floor in your lighter colour, so pink for me. Two coats, working from the far corner towards the door so you don’t paint yourself in. Let it dry overnight before taping, or the tape will lift it.
Step 3: Measure and mark the grid
Find the centre of the room and draw two lines crossing at right angles. Measure your squares out from the centre so any cut squares end up at the edges, not in the doorway. I used 30 cm squares in a small bathroom; bigger squares look bolder and calmer. Mark every corner, then join them with a long ruler.
Step 4: Tape and paint the dark squares
Mark an X in every square that will be dark. Tape around those squares so the tape sits on the light squares. Press the tape edges down firmly with a fingernail, then brush a thin layer of the base pink over the edges first. That seals them so the black can’t bleed. Roll two coats of black, and peel the tape while the last coat is still slightly wet.
Step 5: Seal it
Touch up any wobbles with a small brush, let everything dry for 24 hours, then roll on three thin coats of clear floor varnish. Leave it to cure for a few days before heavy use, and pop felt pads on anything with legs.
Make it yours
- Try a diagonal checkerboard for a more retro diner look.
- Swap colours: mint and red, cobalt and yellow, lilac and orange.
- Paint a checkerboard “rug” on floorboards instead of the whole floor.
- Use a third colour on just a few squares for a wonky, joyful twist. 💗